Abilities
Growth
+15% Damage Done every 30 Seconds. It can stack enough to instant-kill your tanks, don't expect to survive if it has more than 17 or 18 growth on him (9 minutes fight)
Hurtful Strike (Damage increased by Growth)
Hit the 2nd player in aggro list for 12350-13650 Physical Damage (~15 seconds timer). Only applies to people within melee range of Gruul, even if your offtank has enough aggro, if he's not next to Gruul (after a Ground slam), a melee DPS will die.
Cave In (Damage increased by Growth)
AOE dealing 3000 damage every 3 seconds. Look like a blizzard but with stones, and it can move a little. There is always one up throughout the fight, just move away if it's on you.
Reverberation
AOE Silence (4 seconds) on a random timer.
Ground Slam
First spell of a chain, Gruul will slam the ground and knockback every players in random directions. Once you landed, you will have to go away as much as possible from people who could be near you.
Gronn Lord's Grasp
Second spell of a chain, players movement speed is reduced by 20% every second for 5 seconds. Once your speed is reduced to 100%, next spell !
Stoned
Third spell, stunned.
Shatter
Final spell, Gruul will shatter the raid and people will get damage based on their distance from each other. Basically if you're next to another player, you will take around 7000 damage. Keep in mind that the damage are highly lowered by distance and you shouldn't take this kind of damage.
Additional informations
The more ranged DPS players you can afford to get in your raid, the easier it will be. You can use amplify magic on everybody to boost heals and magical damages (all Gruul's damages are physical). If you can't kill him fast enough, see our consumables list.
Using [Limited Invulnerability Potion] just after a Ground slam will prevent the slow effect and may help you to get out of range of other players faster.
Placement
Pretty simple, MT goes in the middle of the room with Gruul while the raid spread around to reduce the probability to get ejected into other players after a Ground slam. Melee DPS should also spread, at least to not get hit by the same cave in.
After a Ground slam, people have to spread out before Gruul casts Stoned/Shatter. Then you should try to go back to the place you were given at the beginning (try to stay in range of your healer), you can also hide in some places of the cavern where there are wood/stone pillars like the one on the screen, just try to be stuck enough in the structure to not get knockbacked. There are a lot of them around the room, you can see a few examples on the map.
Off tank should also be very cautious after a ground slam, if he doesn't get in melee range fast enough, the Hurtful strike will hit another player in melee range, most likely a rogue who will be instantly killed.
Things you really shouldn't forget
Really. You shouldn't.
* Healers should be careful after a Reverberation or a ground slam/shatter, this is when tanks have the highest chances to die.
* MOVE ! Do not wait for other people to do it for you. If you wipe because you were expecting the guy next to you to move, you're officialy an idiot.
* Melee dps and tanks should really spread out to avoid being in the same Cave In, once you reach a decent amount of Growth buff on Gruul it can be deadly
El listado completo de puntos que estan a salvo:
La raid puede tener mas o menos esta configuracion:
2 Tankes, 3 meles DPS, 7 healers, 13 Ranged DPS
La idea es que los Meles DPS se escondan para evitar el Shatter, cada 1 en 1 sitio distinto. De ese modo, una vez que nos lanza por los aires los Ranged DPS se quedan en la zona de mas atras. Y los Healers en la ZOna de mas alante.
Fuente: http://mortalisg.guildomatic.com
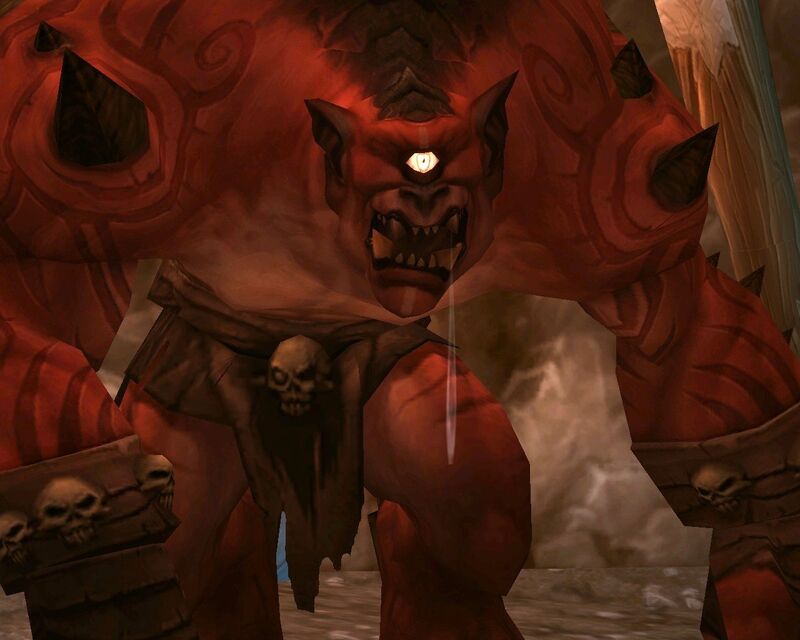
Fotografía: http://www.wowwiki.com/Gruul_the_Dragonkiller
